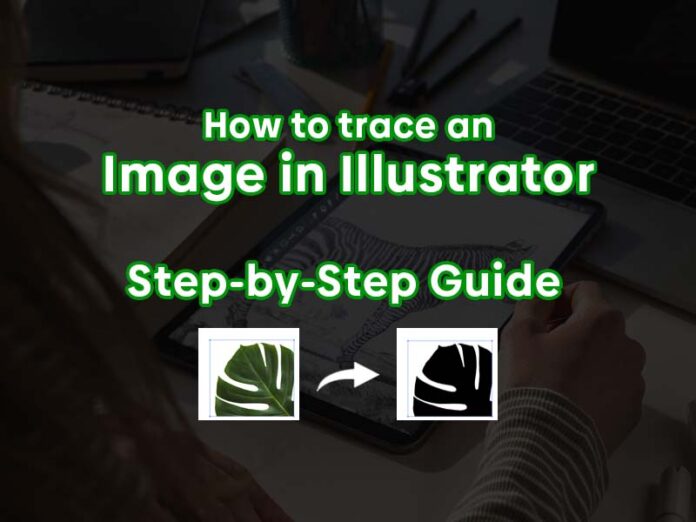
When it comes to designing, converting images into vector graphics is one of the most crucial tasks. From creating tiny logos to billboards, vector graphics are the editable file formats. To do this, you need to be proficient in image trace, and that’s where Adobe Illustrators comes in. With the help of an image trace feature in Illustrator, one can easily create stunning digital imagery. So, let’s unfold the mystery behind how to trace an image in Illustrator. In this piece of content, we will cover every aspect of mastering image tracing in Adobe Illustrator.
What is an Image Trace?
Before jumping to the steps to trace an image, we first understand image tracing.
Image tracing is a technique or a method to convert an image (made from pixels) or raster graphics into editable vector forms.
Now you’re feeling perplexed about why vector graphics. Right?
Here is why you need to use vector graphics:
Vector Graphics are,
- Editable in Nature: It means you can easily edit or modify it as per your requirements.
- Consume Less Space: The best thing about vector graphics is that they are small compared to raster files. It means they take up less storage space; that’s the one reason you need to consider using vector files.
- Scalable in Nature: Yup! You hear right. With vector graphics, you can transform a tiny image to any size without affecting the quality. That’s true and is the reason to consider vector graphics.
Now, you are well aware of vector graphics and why image tracing is a necessary part of designing.
What tools are required to trace an Image In Illustrator?
To start image tracing, you must have three components, let’s check what they are:
Adobe Illustrator
Obviously! you must have Adobe Illustrator tool as it is one of the most proficient tools in image tracing. So, if you don’t have Adobe Illustrator, visit Adobe’s website and test their 7-day free trial before purchasing an Adobe subscription.
An Image File
You must need any image or logo file that you can use to test the image tracing feature in Adobe Illustrator. You can pick any image that comprises a few colors.
Digital Photo
You should have any photo, or you can use your photographs, but make sure every media file is in .jpg and .png format.
But the story does not end here. In the next section, we will cover the main story part.
How to trace an Image in Illustrator-10 Steps
Image tracing is a necessary step towards creating high-quality graphics. Here are the ten steps you can follow to become proficient in image tracing.
Step 1 Upload the Image to Adobe Illustrator
- The first step toward image tracing is to open your image (.jpg or .png raster formats) in Illustrator or upload a photo in Illustrator.
- Make sure the image appears and is visible in the new document in Adobe Illustrator.
Step 2 Select the “Image Trace” Option
- When you open Adobe Illustrator, you will see the window tab.
- All you need is to click on it.
- Now, here is a bingo: your image trace panel opened up.
Step 3 Select Your Image
- Once the image tracing panel appears, select your image or logo.
- Now, how can you do this? Adobe Illustrator has a selection tool for this.
- With the help of a selection tool, you can easily select your image or logo.
Step 4 Click on the “Mode” Tab
- Now click on the Mode tab to select Black and White.
- If your images are colorful, you can choose colors.
- But remember, the more you choose fewer colors, the more helpful it will be for you to edit that image. Fewer colors also make your photo more simplified, so keep it small.
Step 5 Choose a Suitable threshold Range
- Threshold holds importance in image quality. If you mark it at a high range, you will see darker colors.
- On the other hand, if you marked at a lower range, you will see a lighter area.
- Let’s say that if your image is in black and white color, selecting a higher range would lead to a larger black area. At the same time, setting a lower threshold range results in a smaller white area.
- So, always choose the optimal range that is suitable for your image.
Step 6 Select Path
- Now click on the Advanced tab, and you will find the Path option.
- When you choose a lower “Path” range, it will simplify your image.
- On the other hand, a higher path range can make your image tighten fit for devices.
- So always be sure about what “path” is suitable for your image.
Step 7 Choose a “Corner” Slider
- When you open the Advanced option, you will also find the “Corner” slider. With this, you can easily adjust the bends in your image design.
For Example, If you move the corner slider to the left, your image will be softened.
But if you move the slider to the right, your image will have sharpened corners.
Step 8 Set Noiser Slider
- In the Advanced tab option, you will see the “Noiser” slider option.
You will be wondering about to know that it has a direct relation to the image resolution.
For Example, If you want a high-resolution image, you need to set the “Noiser” slider to the higher range. Lowering the “Noiser” slider will give you a low-resolution image.
Step 9 Let’s “Trace” It
- Once you set every option, click on the Trace option to trace your image successfully.
Step 10 Save Your Image
- Once your image is traced, click on the Properties tab and choose the Expand option to save your traced image.
Always save your traced image in formats like .eps, .pdf, or .ai formats.
Conclusion
Here, we have reached the destination. We hope you enjoyed the journey. Now, it’s super easy for you to convert an image into an editable vector file using Adobe Illustrator. This guide on how to trace an image in Illustrator will enhance your graphic skills to the next level. You cannot only use image tracing but also a few other options of Adobe Illustrator to make your image more visually appealing.
We hope this article will be helpful to you. Stay tuned for upcoming articles.
READ MORE: Unveiling the Top 8 Illustration Trends for 2024!
If you like our article, please subscribe to BsyBeeDesign for the latest updates on design. If we forget anything, share your creative ideas with us in the comments section.
Follow us on Facebook, Linkedin, Instagram, Pinterest and YouTube.


